
 Yahoo Finance
I built my own computer out of a $285 kit — here’s what it was like for a first-timer
Avery Hartmans/Business Insider
Building you own computer sounds like an insurmountable task, one best reserved for those with a lot of free time and access to microchips.
So when I got the opportunity to build a computer and was told it would not only be straightforward but would only take me a few hours, I decided I had to give it a shot.
Full disclosure: I’m neither a techie nor an engineer, and I’ve never successfully built or repaired an electronic. In fact, the closest I’ve come to the inner workings of a device was swapping my old Android phone battery out for a longer-lasting one.
But it turns out that not only was building my own computer pretty easy, I actually learned something new and made a product that actually works — and could replace my laptop for everyday tasks.
I built one of Kano’s computer kits just as the company is unveiling new add-ons to its computer. Here’s how it went.
I received two kits from Kano: the standard computer kit, which was the company’s first product, and the screen kit, which is slightly newer.

The complete kit costs $284.99 right now.

Here are all the pieces from the computer kit. Each kit comes with a Raspberry Pi, which as Kano says “acts as the computer’s brain,” and comes with a wireless keyboard, a speaker, a power adapter, and an HDMI cable, so you can attach the computer to different screens.

The booklet that came along with my kit had step-by-step directions to help me build my computer. While Kano’s kits are mostly bought by kids, they’re aimed at people of any age.

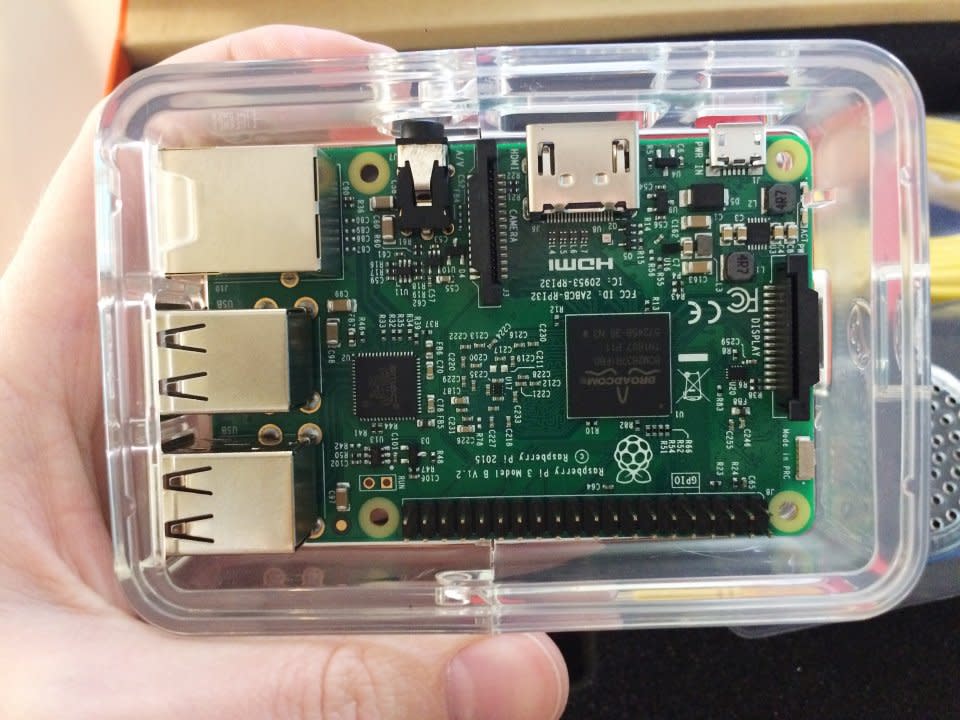
Here’s the Raspberry Pi — this is what powers the computer. All I had to do was stick that small 8 GB memory card into its slot.

The Raspberry Pi locks into a protective case. On the left side, there are several USB ports, a speaker jack, and an HDMI port.
The orange keyboard comes with a transmitter, which you plug into one of the USB ports. Now, your computer can talk to your keyboard.

Next, I connected the speaker to the Raspberry Pi and snapped it onto the protective case. Once I plugged it into the outlet, it lit up and started loudly beeping, so I knew it all worked. The computer itself was now ready to go.

I unpacked the screen kit, which contained fewer pieces and looked easier to assemble. Inside was an HD screen, a couple cables and a splitter, some odds and ends like Velcro and rubber feet, and two protective cases.

The screen already had this circuit board — called the command center — attached to the back, so all I had to do was snap on the case.

Then I connected this piece — the button board — with a cable that attached to the command center, and used Velcro to stick it to the back of the screen.

After that, I snapped the computer into place, connected it with a couple of cables, and plugged it into a power strip.

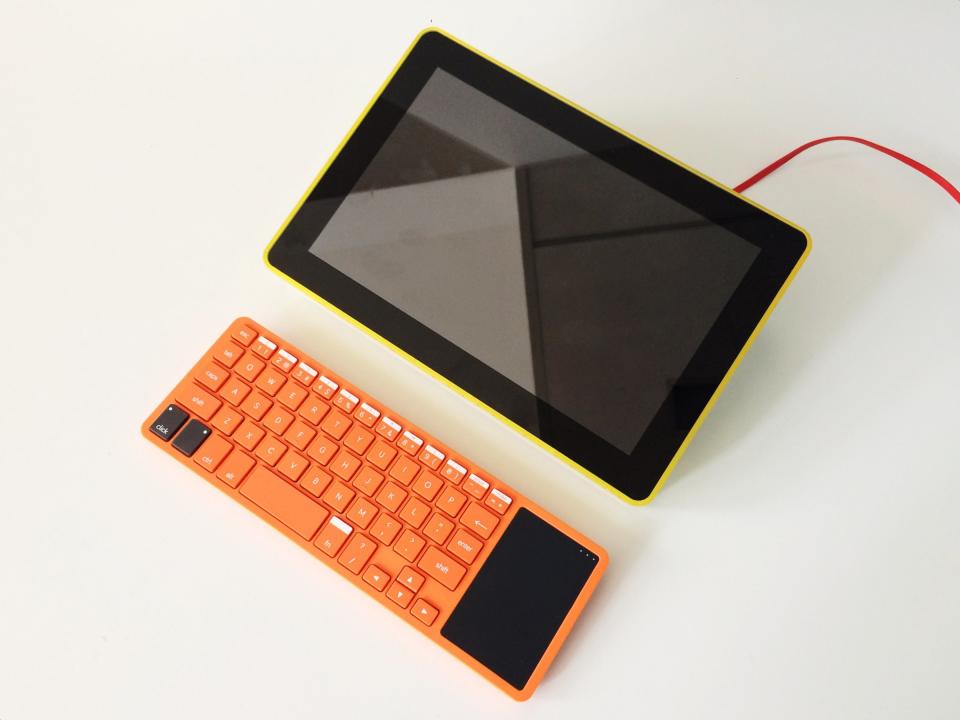
Miraculously, it turned on. Everything lit up and the keyboard was able to connect with the screen and the computer. That black rectangle on the right is the track pad, but you could also plug in a mouse to the USB port if you needed to.

Here’s what your main Kano dashboard looks like. You can connect to the Internet, watch YouTube, and learn to code, all from the home screen.

There’s only one downside: After trying to download Microsoft Silverlight and having a lot of trouble, I learned that this version of the Raspberry Pi can’t stream Netflix.
The keyboard, while compact and wireless, is also a bit hard to type on. I could, however, connect to Slack and email and browse the internet, so the Kano can almost handle my basic computing needs.

Now, Kano is introducing new add-ons for the computer, which I got a chance to try. The company launched a Kickstarter campaign for its pixel kit, camera kit, and speaker kit, which cost $99 each.

The pixel kit is a light board with 128 pixels and a tilt sensor, which lets users build games, visualize data, or create artwork. When I tested it out, the light board was programmed to light up when someone came near it.

The speaker kit is a code-able speaker and sensor, so you can record your own sounds. The speaker can get surprisingly loud.

The 5 mega-pixel camera is also programmable and lets you design different flashes and filters, or create gifs and videos. All three new kits are wireless.

Overall, the Kano was fun to build, easy to use, and has some cool add-ons. Plus, it’s much cheaper than buying a regular laptop or tablet. With the exception of streaming, the computer does everything I need it to do — and I learned something new in the process.

The post I built my own computer out of a $285 kit — here’s what it was like for a first-timer appeared first on Business Insider.
